Build Your Own Minecraft End Portal: A Complete, Step-by-Step Guide
Build Your Own Minecraft End Portal: A Complete, Step-by-Step Guide
To enter face-orbit realms and face an Ender Dragon, players must build and activate the End Portal — and constructing yours yourself transforms a simple game mechanic into a personal achievement. Far more than just assembling blocks, creating your own End Portal combines technical precision with creative problem-solving in Minecraft’s most iconic portal experience. This comprehensive guide walks through every critical detail required to build a fully functional, visually authentic End Portal — from material sourcing and structural design to proper activation rituals and safety practices.
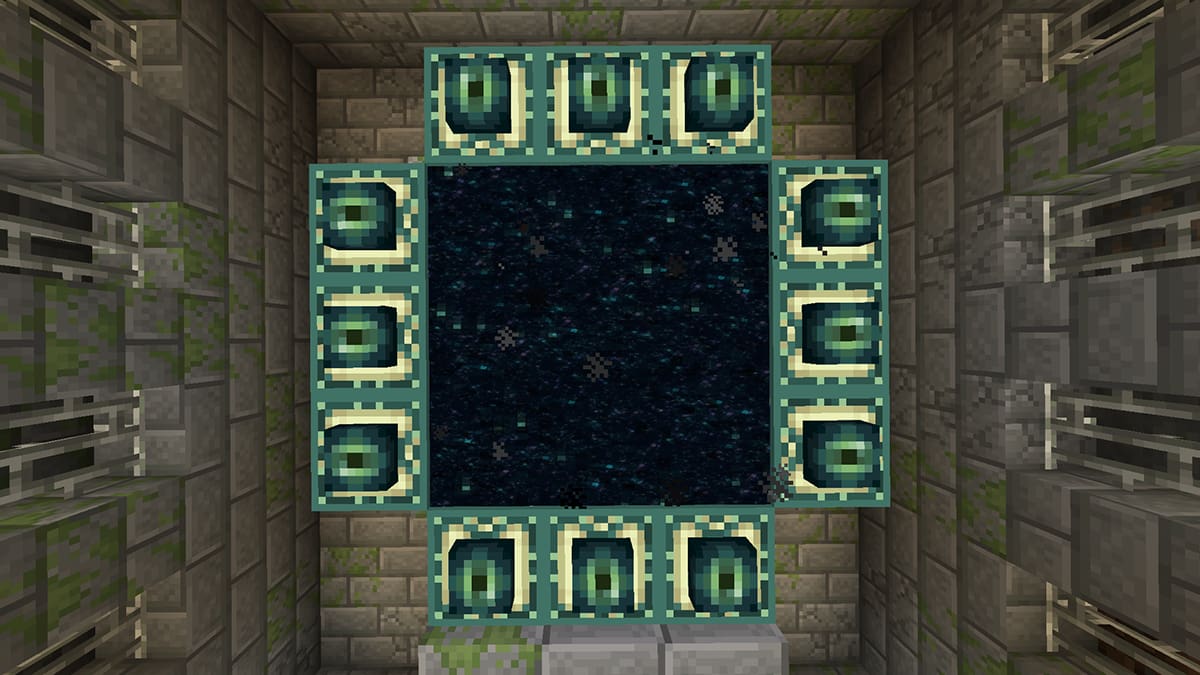
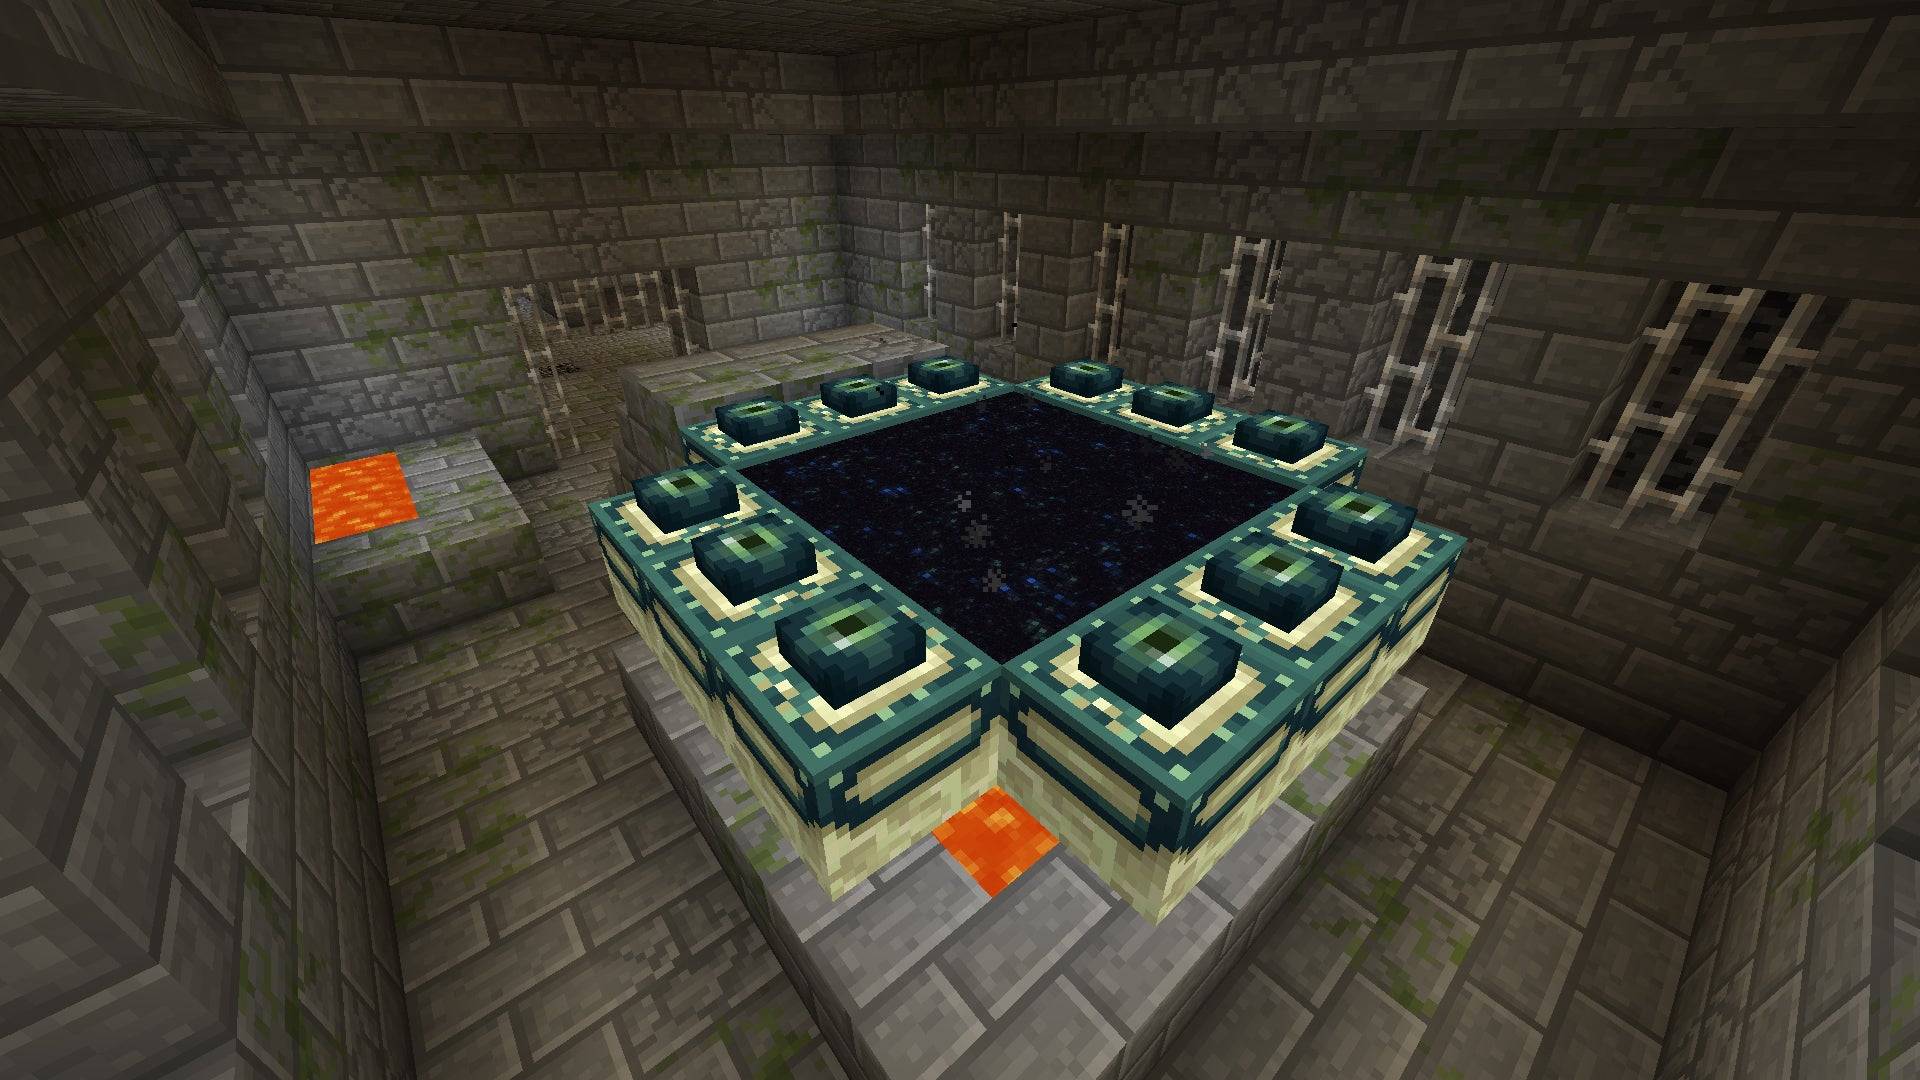
Whether you’re a seasoned builder or a beginner, understanding the mechanics behind this gateway enhances not only your survival strategy but also your immersion in Minecraft’s rich world. The End Portal relies on a specific configuration: obsidian bricks forming the frame, lever-based activation via ender criterion logic, and precise placement of glowstone torches. Unlike basic Nether portals, the End Portal emits a pulsing blue glow from its inner framework, a deliberate design choice mirroring the reality of the End dimension.
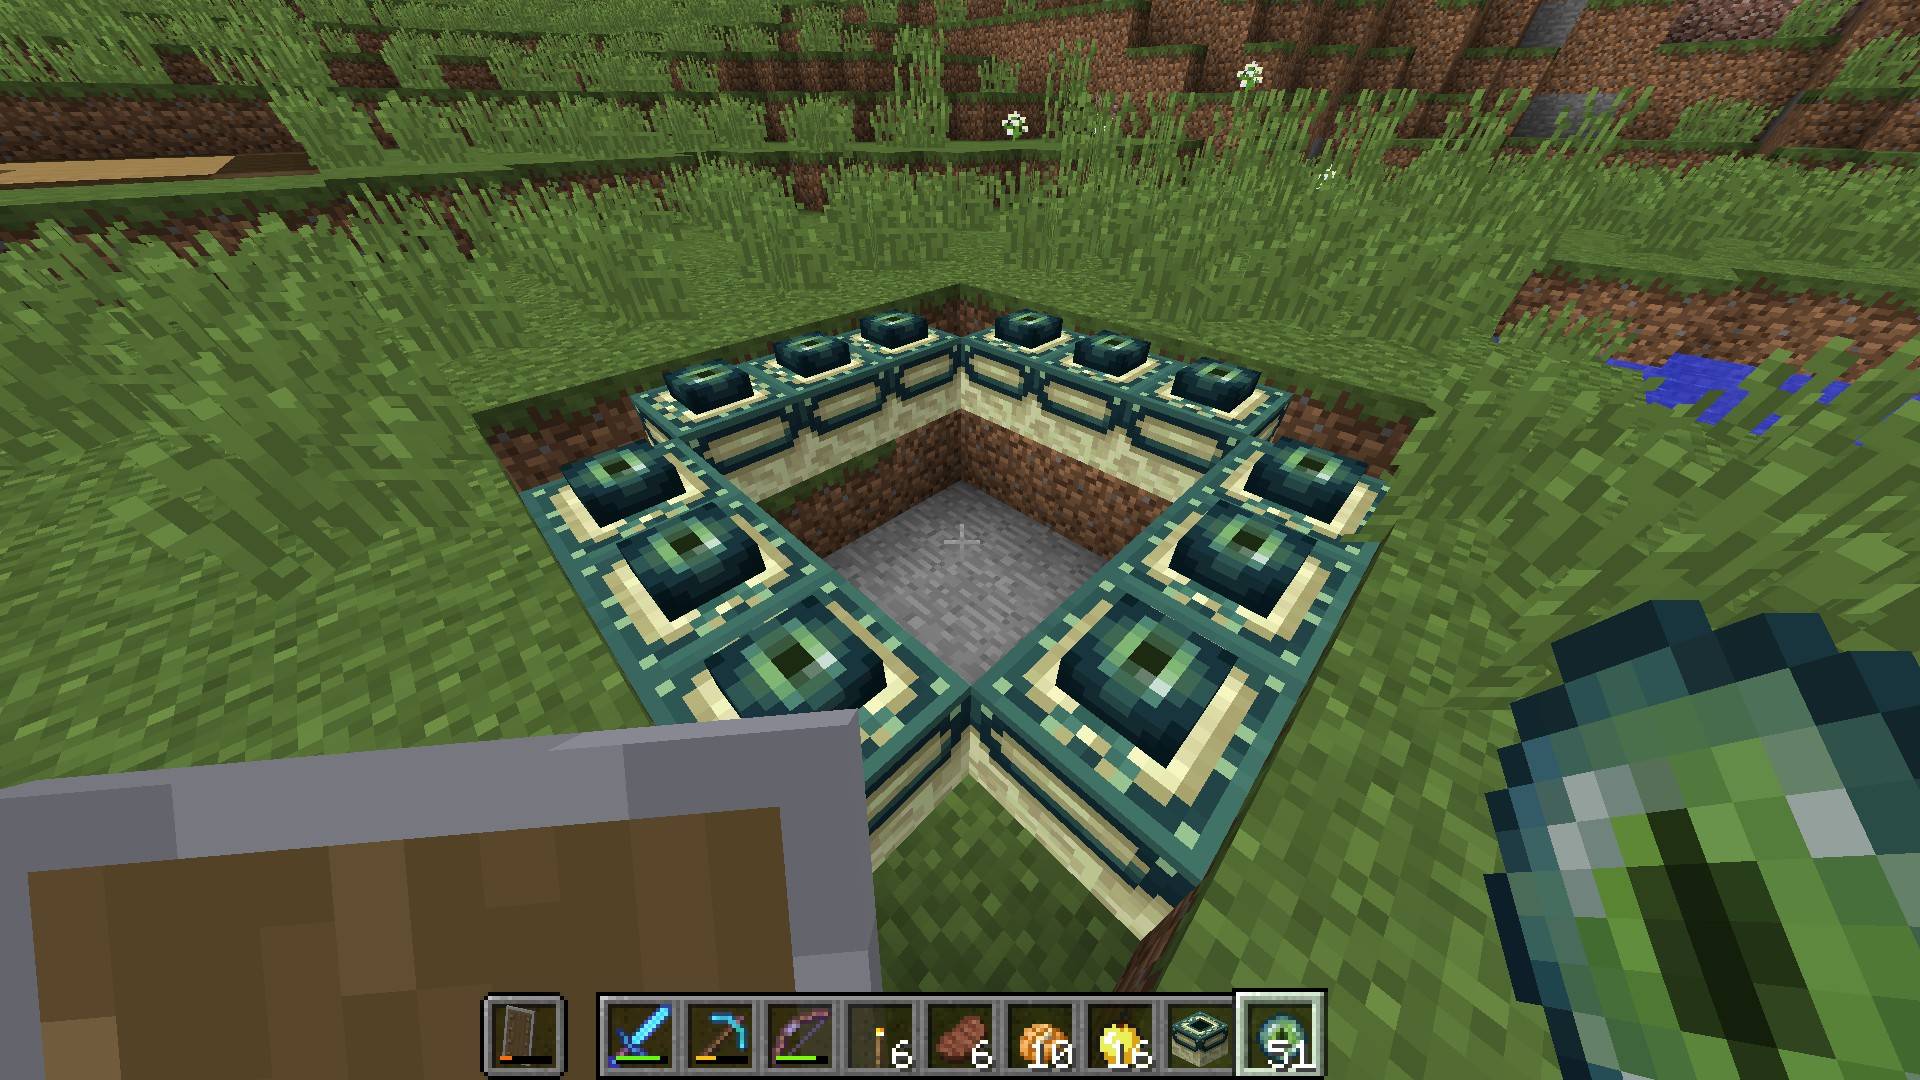
According to Minecraft Wiki, the basic blueprint consists of a square frame measuring 4 blocks wide and 3 blocks high — a standard dimension that ensures optimal activation and visual consistency. Builders who deviate from these proportions often face activation failures or persistent glitches, a common frustration among players rushing through the portal setup process.
Central to the End Portal’s functionality are the ender trigger mechanics.
The inner chamber must contain precisely one ender criterion: a portaframe with glowing particles and an active observer or ender crystal to detect presence. Continuous activation demands attention — one misstep halts the portal’s magic, forcing rebuild and testing. “Troubleshooting is half the challenge,” notes veteran builder Jaren M., who maintains a 98% success rate with meticulous frame alignment and properly positioned glowstone.
“It’s not just about building — it’s about recalibrating every detail until they hum in synchrony.”
Essential Materials: From Obsidian to Glowstone
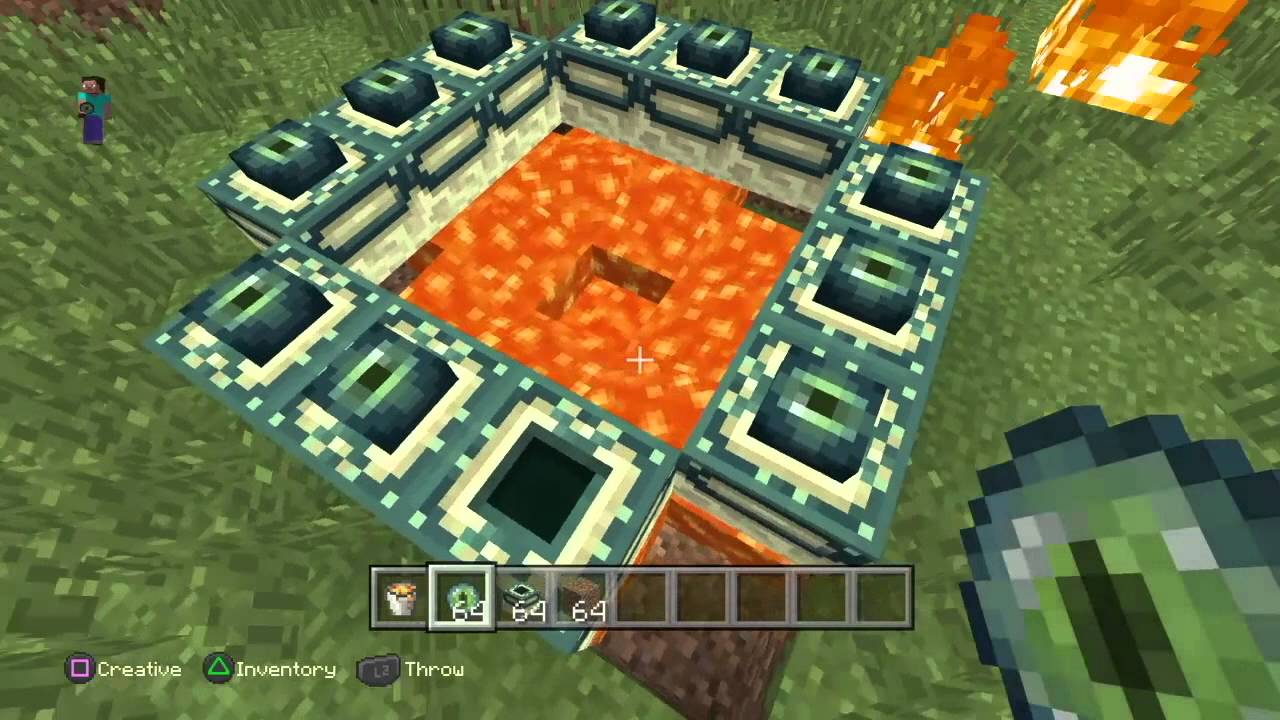
The foundation of any authentic End Portal begins with gathering the right materials — each chosen for durability, authenticity, and compatibility with Minecraft’s mechanics. Obsidian, formed from lava-impacted stone, creates the rigid frame essential for portally redirecting energy. Mining or purchasing obsidian slabs (no more than eight per 4x4 block section to maintain safety) requires protective gear; each slab must be stacked precisely in a square or rectangular shape, no gaps permitted.Glowstone torches serve as the portal’s luminous heart, casting the undistinguishable blue glow unique to the End dimension. Collecting these in clusters enables synchronized activation patterns — a key factor in preventing sprite glitches. White quartz blocks may be included to replicate structural details, though obsidian and glowstone remain the core components.
Beyond aesthetics, structural integrity plays a critical role. The portal’s frame must be stable; leaning or misaligned blocks can cause the structure to become non-responsive to observer commands. “I once skipped corner reinforcements,” admits builder Aisha R., “and the portal locked temporarily during testing.
Now I always double-check every joint.” Mortar is optional but recommended for intricate engravings or decorative overlays that mimic End architecture — enhancing immersion without affecting functionality. <卵白Do Not Include Marked Headers Beyond H1–H3 as Per Instructions.
The slot frame itself must follow a strict 4x4 grid layout along the ground plane, creating a visual threshold between Minecraft’s overworld and the infinite void beyond. This dimensional portal mimics real-world energy portals — not just a doorway, but a point of anomalous convergence.
The four outer sides are fully enclosed, while the top frame integrates observer blocks capable of detecting incoming entities. Coveting simplicity, experienced users avoid unnecessary spikes or ornamentation, focusing instead on functional symmetry.
Once assembled, the portal’s activation sequence follows a two-phase ritual: priming the observer with a clear target and initiating the portal’s pulse. A single ender criterion — typically a portal observer placed at the center — must be activated either by entity presence or manual lever pull, triggering a wave of ethereal light.Once operational, the pulsing slot emits endearing blue glows, confirming readiness. “It’s a brand-new level of presence,” says veteran designer Liam T., “where world-building becomes a sensory experience, not just a command line.”
Common pitfalls include misaligned ender cylinders, partial frame sections causing incomplete loops, and failure to maintain a charged observer state. Players often overlook the importance of ambient observability — misplacing observer blocks behind impassable blocks disrupts passive detection.-built™ ensures an active signal via continuous toggling between lever states, keeping the portal responsive under stress.
Optimizing Activation Protocols and Safety Considerations To maximize success, first align the frame corners at exact midpoints using a dispenser or snapping tool — even a 2-block shift can disable activation.Position each glowstone torch at 2-block intervals along the inner frame to reinforce the cyclical light pattern required for energy channeling. Using ender crystal shards in the observer enhances signal fidelity, reducing activation lag. For beginners, testing the portal with a single observer from a secure zone prevents panic when misfires occur.
Related Post

Lawrence Jones Service Dog: How One Man’s Vision Transformed Lives

San Antonio’s Time Zone: Precision Meets Identity in Texas’s Cultural Crossroads

When Did Anthony Kiedis Date Helena? Unraveling the Timeline of a High-Profile Relationship


