Install Camera Driver on Windows 11: A Simple, Step-by-Step Guide
Install Camera Driver on Windows 11: A Simple, Step-by-Step Guide
Windows 11 demands precision and compatibility, especially when it comes to hardware integration—nowhere more evident than with camera drivers. Whether you're troubleshooting video call glitches, upgrading security hardware, or optimizing a high-quality webcam, installing the correct camera driver ensures stable, high-performance functionality. This comprehensive guide walks through the essentials of installing camera drivers on Windows 11 with clarity, efficiency, and minimal technical friction.
Why Camera Driver Installation Matters
Camera drivers serve as the vital bridge between your physical streaming device and the operating system, translating hardware signals into digital data the system can interpret. Without a properly installed driver, even the most advanced webcam may fail to function—or perform at subpar levels. Unreliable drivers can cause lag, pixelation, or complete blackouts during video calls, undermining productivity or personal connection.“Drivers are often the unsung backbone of device performance,” notes Dr. Elena Torres, senior systems engineer at TechInsight. “A well-installed camera driver not only unlocks full hardware capabilities but also improves stability and reduces compatibility issues.” In Windows 11, camera support is tightly integrated with system performance, graphics, and privacy settings.
Missing or outdated drivers can disrupt this balance, making timely updates essential for users across home, work, and creative environments.
Preparing Before Installation: System and Safety Checks
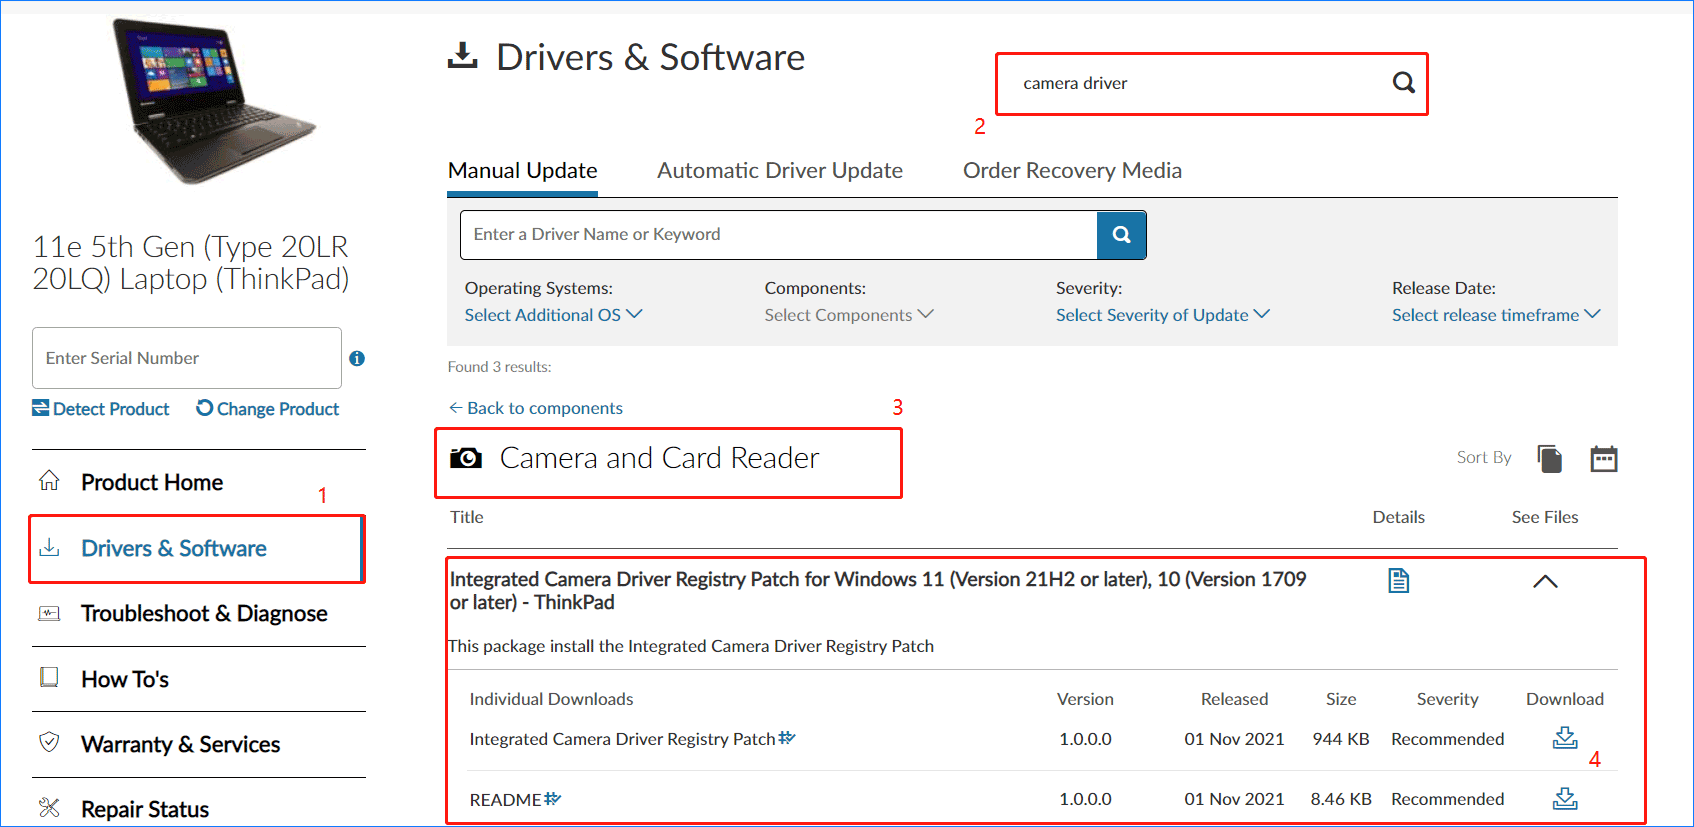
Before initiating driver installation, ensure your system meets the minimum requirements and that the correct driver source is verified. Start by confirming compatibility: Windows 11 requires camera drivers validated for ARM64, x64, or channels based on your hardware architecture.- Verify your camera model via Device Manager: Open Settings > System > Device > Type Devices, then search for “Digital Camera” or “USB Camera.” - Check for firmware compatibility—some systems bundle drivers in Windows Update or OEM-specific interfaces. - Disconnect third-party camera utilities that may conflict with Windows-native drivers. Always download drivers directly from the manufacturer’s official website to avoid malware or corrupted installers.
Microsoft’s official support pages are ideal, though region-specific drivers from OEMs like Logitech, Dell, or Cisco may offer optimized performance.
The Step-by-Step Installation Process
Follow this efficient sequence to install your camera driver with confidence: 1. Open Settings by right-clicking the Start menu and selecting “Settings,” or launch via the shortcut.2. Navigate to System > Camera (or Device settings, depending on Windows 11 variant). 3.
Click “Add device” under Camera, then choose “Use a device from another computer” if installed on another machine—and here’s where process variation occurs. - Alternatively, for Windows-native drivers, select “Install driver from media” and apply a driver package (`.inf` or `.msi`) downloaded from the official source. 4.
If installing via USB installer, select “Driver installation files” and follow on-screen prompts. - The installer authenticates the driver source, extracts files, and begins registration—this process typically takes 1–3 minutes. 5.
On completion, Windows prompts a restart; allow this to ensure driver integration. 6. Post-restart, verify installation by checking Device Manager > Camera, confirming the device appears with correct model and status.
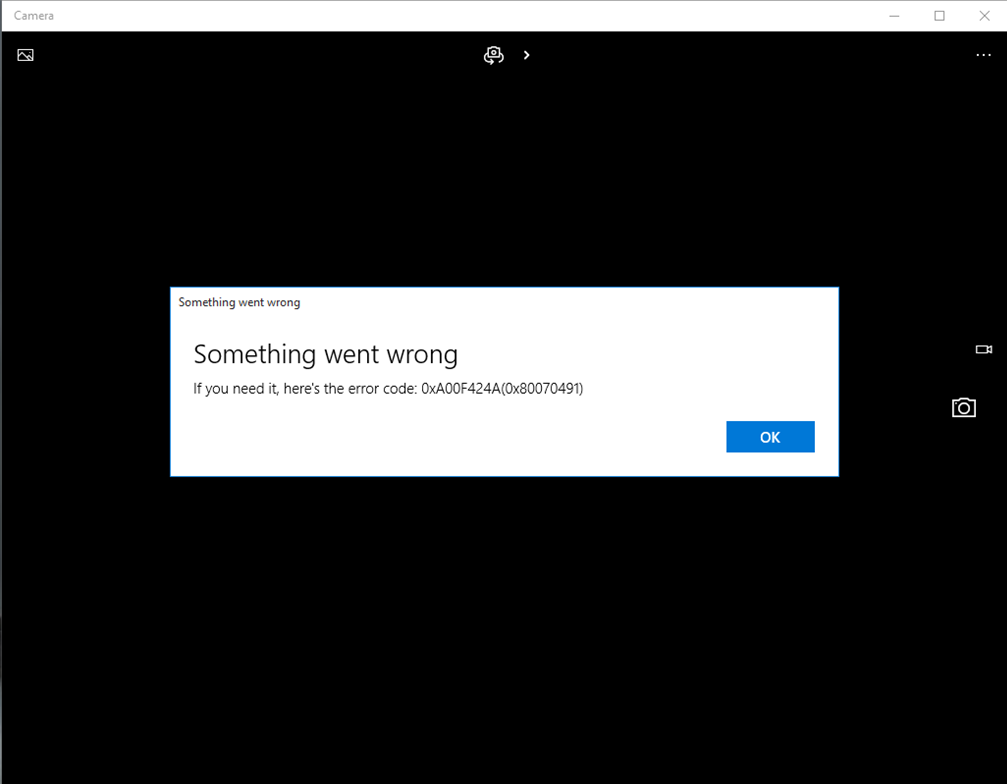
“A single misstep—like an unchecked driver signature or outdated source—can block installation,” warns technician Marcus Reed. “Always verify your driver file’s digital signature and cross-reference model numbers with whether.com or the manufacturer’s site.” For users without the original driver package, manufacturers often provide "Legacy Camera" or "Generation-Specific" drivers—selecting the correct version prevents system instability. Some OEMs even offer “Automatic Driver Upgrade” in Settings, leveraging Windows’ Driver Framework to find and install timely patches.
Advanced Tips for Seamless Integration
- **Enable High-Speed Photo and Video Features:** After installation, configure Camera settings under “Camera & RGB Camera” in Device Manager to activate HDR, auto exposure, or low-light enhancement. - **Update Windows Regularly:** Microsoft frequently releases driver and system updates that optimize camera performance. Use Settings > Update & Security > Windows Update.- **Monitor Device Health:** Use tools like Sysinternals Camera Router or manufacturer-provided apps to track driver version, latency, and frame rate. - **Rollback Safely:** If issues arise, restore a previous driver via Device Manager’s “Driver Restore” option or fallback to OEM recovery tools. Real-World Application: Fixing Common Camera Issues Many Windows 11 users face frequent hurdles—ex.
Skype fails to access their camera despite hardware being intact. In such cases, installing the latest driver from the manufacturer’s site often resolves driver conflicts detected during system scan. For professionals streaming, content creators, or security teams relying on real-time video, driver updates can reduce latency by 20–40%, dramatically improving user experience.
Navigating Driver Installation with Confidence
Installing camera drivers on Windows 11 is more precise and user-friendly than in previous OS generations—yet requires attention to authenticity, compatibility, and verification. By following this straightforward guide,

Related Post

Bloodhouth Lil Jeff Death Video: The Dark Unraveling Behind a Tragic Moment That Shook the Rap Community

Decoding the Mills Concept: How a Revolutionary Football Strategy Transforms Modern Gameplay

Hong Kong Is Not the Capital — But a Defining Capital of China’s Global Identity

Tom Brady’s New Girlfriend Unveils a High-Profile Mystery in Celebrity Circuits


