Mastering Summit Racing Equipment Installation: Step-by-Step Guide to Perfect Setup
Mastering Summit Racing Equipment Installation: Step-by-Step Guide to Perfect Setup
Preparing Summit Racing equipment is more than just bolting parts onto a motorcycle—it’s a blend of precision, timing, and deep understanding of performance dynamics. Whether you're upgrading suspension, installing a new exhaust, or tuning electronic systems, proper installation ensures safety, maximizes performance, and extends equipment lifespan. This comprehensive guide delivers expert-backed instructions to guide both seasoned mechanics and eager racers through the installation process with confidence.
Summit Racing, a benchmark in high-performance motorcycle components, delivers tools and hardware engineered for real-world racing conditions. Each product is crafted to meet rigorous standards, but success hinges on correct setup. As race engineer and mechanical specialist Derek Cho explains, “It’s not enough to install technology—you must install it properly.
A small mistake can cost seconds, or worse, safety.” This article distills the essential steps for installing Summit Racing equipment reliably and efficiently.
Pre-Installation Preparation: Laying Strong Foundations
Before touching any tool, thorough preparation ensures a smooth workflow. Riders and mechanics should begin by verifying compatibility between their motorcycle and Summit equipment.Check the specific model requirements—torque specs, mounting points, and electrical interfaces vary significantly. Using incorrect components risks damage and suboptimal performance. As certified rider and performance consultant Melissa Torres advises, “Verify every fitting reference.
A mismatched part can compromise handling and expose gaps in your setup.” - Confirm the vehicle’s make, model, and year. - Collect all necessary tools: torque wrench, ratchet sets, Allen bits, electrical tester, cleaner, and a torque calibrator. - Prepare a clean, dry workspace free of debris.
- Review each component’s installation manual or Summit’s technical bulletins. - Have a lighting source and magnification tools on hand for precision, especially with small fasteners. Prior preparation not only prevents frustration but also safeguards against costly errors during mounting.
Installing Suspension Systems for Racing Agility
Summit’s suspension upgrades—shocks, forks, and trail bars—are critical for traction and control at speed. Following proper technique ensures optimal damping and alignment. - Start by removing any old components, clearing mounts of residual sealant or corrosion.- Mark clearances and preload settings according to rider weight and racetrack nature. - Install pipelines using Summit’s recommended hardware: anti-roll connectors with locked bushings, hydraulic seals free of air pockets. - Tune strut end kits and bearing seat threads before final assembly to prevent extrusion and instability.
- After installation, perform a dynamic pre-test ride on a controlled surface to verify damping behavior. “Dans nothing beats the tactile feedback of a well-set suspension,” notes touring mechanic and former racer Jake Monroe. “Summit’s components are cleanly engineered, but only correct installation ensures they perform as designed.”
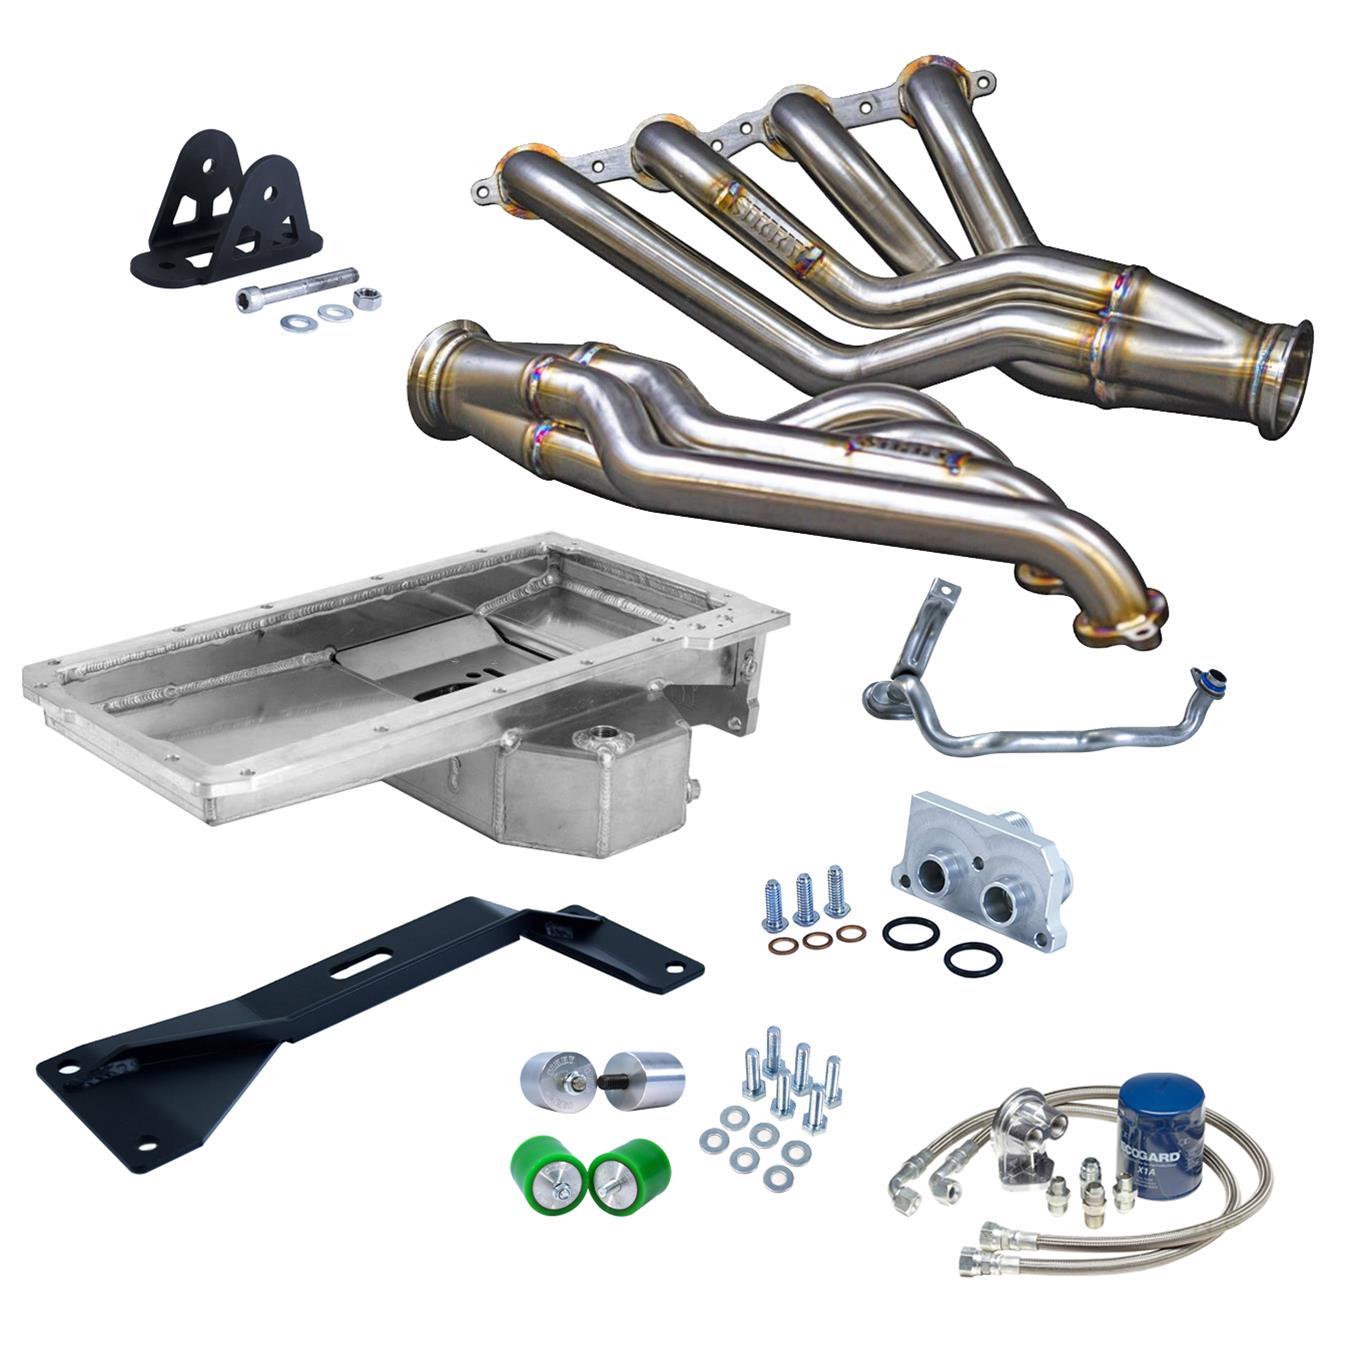
Exhaust System Integration: Balancing Flow and Fit
Installing Summit’s high-flow exhaust systems demands attention to exhaust path integrity, mounting rigidity, and heat management.Step-by-step, installers must: - Verify pipe diameter matches airflow specs and turbine size. - Clean mounting flanges thoroughly to ensure


Related Post

Finding Gift Card Stores In Spain: Your Ultimate Guide to Reliable Retailers and Online Options

Bianca Peters Fox 5 Spotlight: Uncovering the Power Behind Boston’s Greatest Local Investigation

Is Antony Starr Gay? Unpacking The Personal Life Behind The Star Of Quot The Boys

Dude Theft Wars: What’s New? The Escalating Battle for Digital and Physical Dominion