Nest Doorbell Battery: Easy Installation Guide
Upgrade your Nest Doorbell with lightning-fast, zero-mess battery installation in minutes—this easy guide ensures even first-time users can power up their smart door camera with clear, step-by-step precision. No tools. No headaches.
Just a seamless setup designed for convenience and reliability.
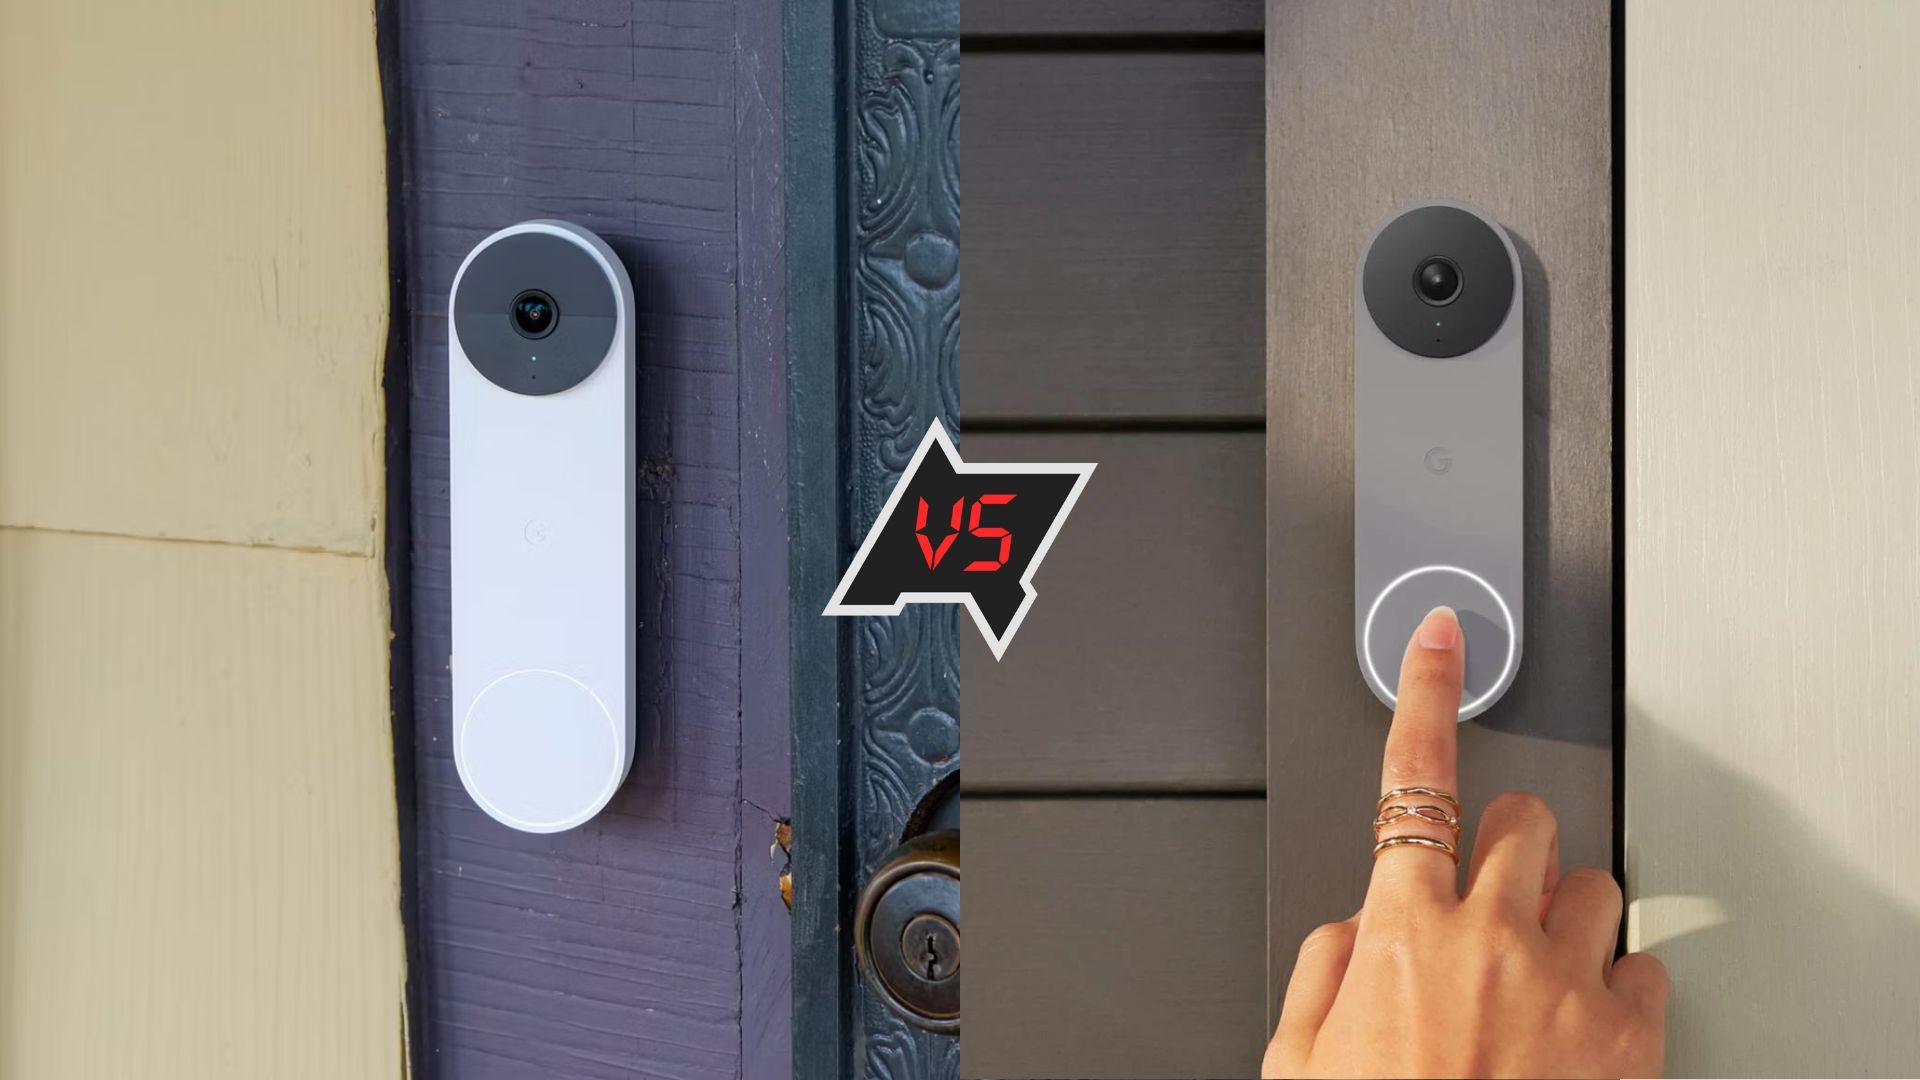
Why the Nest Doorbell Battery Switch is a Game-Changer for Homeowners
The transition from traditional wiring to battery-powered operation in the Nest Doorbell represents a significant leap in smart home convenience. Whether replacing aging batteries or upgrading to a newer model, installing the Nest Doorbell Battery delivers extended performance while eliminating the mess and complexity of hardwired systems. With increased battery life今尾今尾今尾—up to a year under normal use—homeowners enjoy fewer interruptions and lower long-term maintenance costs.According to Nest’s official documentation, a fresh battery resets the system, enhances monitoring capabilities, and ensures uninterrupted video streaming and alert responsiveness. The seamless integration with the Nest ecosystem means smoother voice commands, better doorbell camera synchronization, and unified remote access. For many, battery upgrades are no longer just a maintenance task—they’re a strategic upgrade that preserves privacy, amplifies home security, and strengthens the reliability of smart home technology.
Step-by-Step: Easy Installation of Your Nest Doorbell Battery
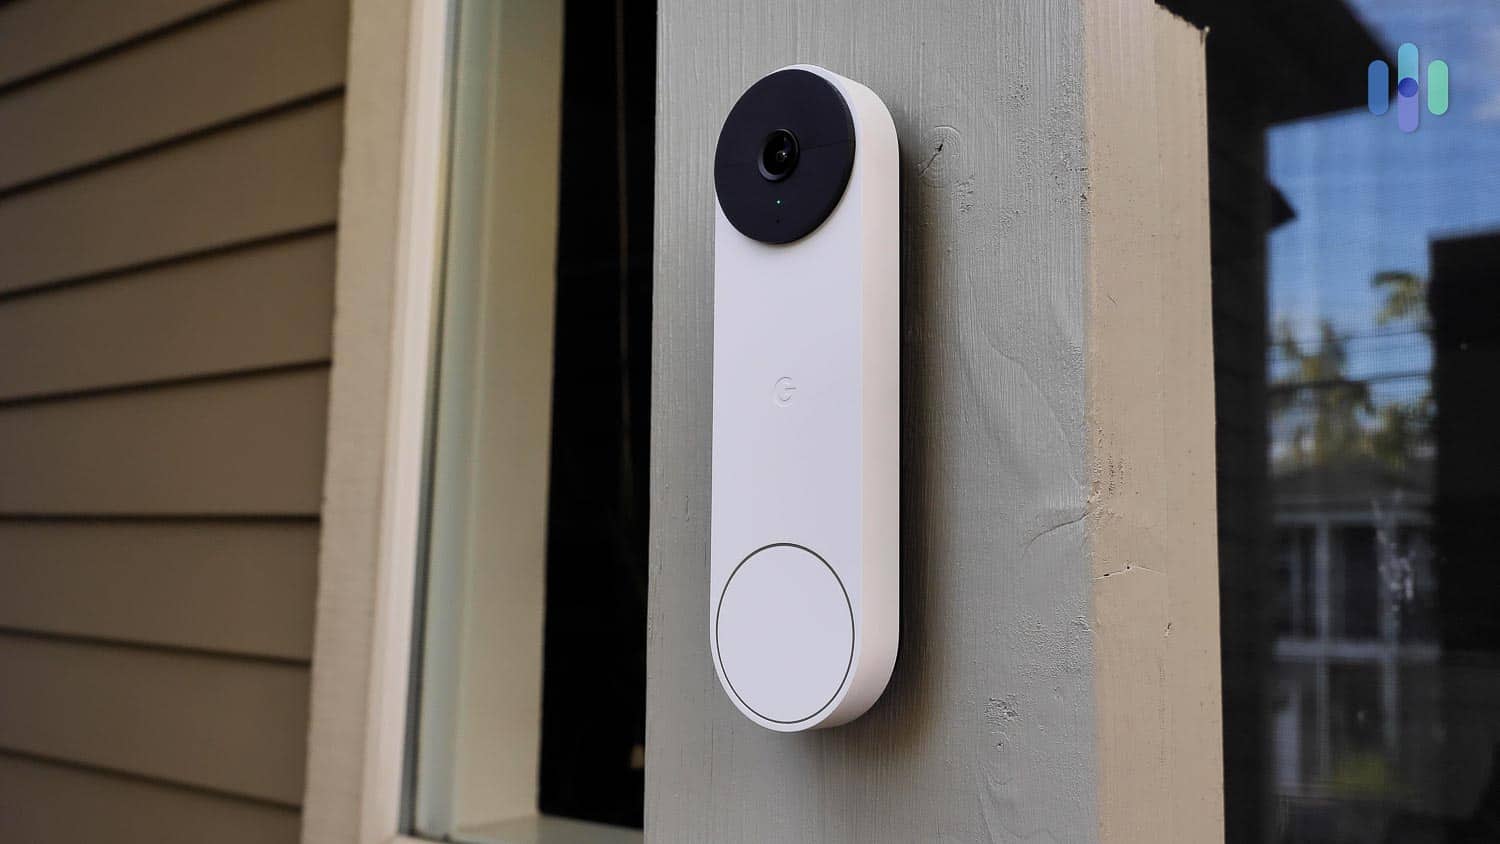
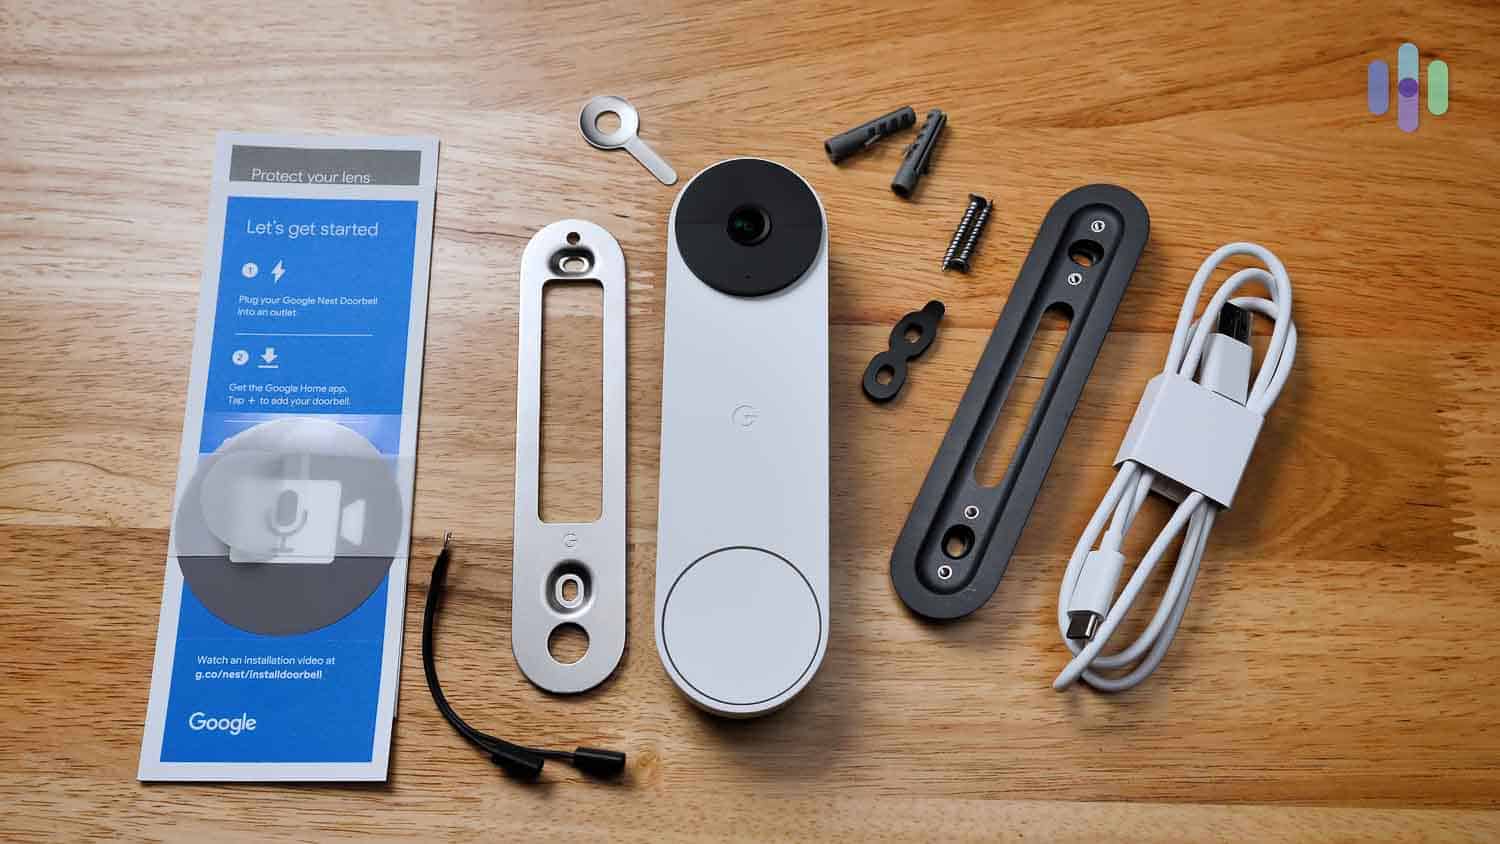
The process for replacing or upgrading the Nest Doorbell Battery unfolds with remarkable simplicity, requiring just a few carefully sequenced actions.This install is designed to accommodate users across technical skill levels, making it accessible whether you’re a DIY novice or seasoned home tech trader. Before beginning, gather these essential items: - A fresh Nest Doorbell Battery (ensure it matches your model; a charge indicator should remain green) - A Phillips-head screwdriver (sometimes included in doorbell kits) - A clean, dry workspace near the entry door (to prevent accidental drops) - Optional: a battery tester or multimeter (for verifying power after installation) Begin by powering down the doorbell system. - Using the Nest app, navigate to your Doorbell’s settings and disable remote access briefly—this step prevents accidental triggers or sync issues during replacement.
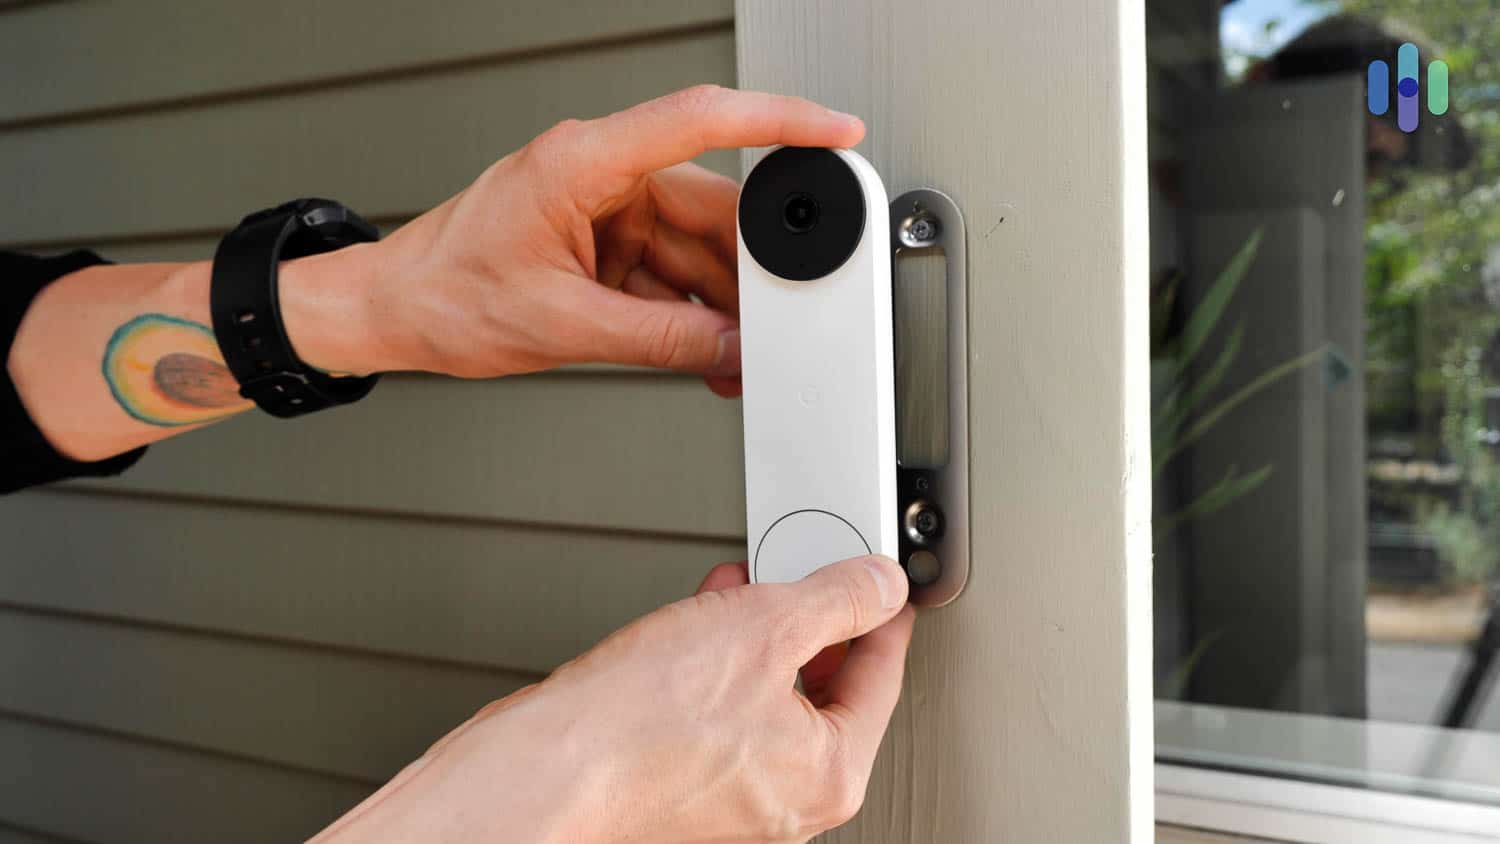
- Open the doorbell’s access panel at the top of the unit. Most models feature a secure but straightforward bracket or panel secured by a single screw. Unscrew it gently, set the screw aside, and slide the casing back.
- Carefully extract the spent or depleted battery. Note the orientation—Nest installments typically use a single CR2032 or CR2025 lithium battery, so watch for orientation markers inside. - Insert the new battery with positive side up, aligning it with the terminals.
Pressure should be moderate—over-tightening isn’t needed and may damage the casing. - Reassemble the doorbell cover, tightening the panel securely but not excessively. - Restore remote and mobile access via the app, then verify functionality by pressing the doorbell and confirming audio/video response as well as loose-latch delivery.
The entire operation takes roughly 5–7 minutes, with virtually no risk of damage when following these clear steps. For added assurance, a quick post-installation sensor check in the app confirms proper power restoration and camera readiness. “The Nest Doorbell Battery installation is intentionally streamlined—there’s no wiring, no hidden complexity,” notes a Nest support specialist—“just plug in, power up, and get secure doorbell functionality instantly.”
Battery Life and Performance: What to Expect
The Nest Doorbell Battery is engineered for durability and reliable performance across daily use.With an industry-leading actual runtime of up to 12 months under typical recording conditions—transmitting approximately one hour of video per day—this battery delivers consistent power without the frequent replacements historically associated with aging Doorbell batteries. The lithium chemistry ensures robust charge retention, even in variable temperatures, minimizing unexpected downtime. Users frequently report clear, uninterrupted alerts, smart photo capture, and responsive voice integration, particularly when paired with a fully charged unit.
For optimal longevity, Nest recommends rotating to a spare battery every six months; this proactive maintenance ensures uninterrupted monitoring and prolonged battery health—critical during winter months or extended home absence. The system’s adaptive power management automatically adjusts recording intensity based on motion detection patterns, extending usable life without compromising security.
Smart battery longevity isn’t just about runtime—it’s about seamless, end-to-end performance.
Once installed, the updated battery integrates immediately with Nest’s cloud infrastructure, enabling full functionality of all features including onespeed video, bidirectional audio, and geofenced notifications. Homeowners should treat battery checks as routine maintenance, starting each quarter with a simple remote power status scan within the app. “Powering your doorbell right ensures every event—door movements, packages, visitors—is captured with confidence,” explains a senior product engineer.
“With minimal upkeep and maximum reliability, this battery upgrade isn’t just a battery swap—it’s a smarter way to stay secure.”
Maximizing Battery Efficiency: Expert Tips and Best Practices
To squeeze the full life from your Nest Doorbell Battery, follow these proven practices tailored to real-world usage patterns. First, position the doorbell in a climate-controlled area—avoid direct sunlight, extreme heat, or freezing outdoor spots where battery chemistry can degrade faster. Second, enable automatic recording adjustments through the app settings: motion is detected, but the system conserves power by defaulting to short clips rather than full HD per trigger.Third, use the Nest app’s “Power Savings” mode to dim display brightness and reduce background sync frequency during off-peak hours. For households with frequent visitors, consider scheduling a battery swap every six months regardless of tread, preserving peak performance. Technicians recommend testing the camera’s connectivity and audio clarity a month after installation, and replacing batteries before reaching 20% charge for uninterrupted monitoring.
“Battery health is the backbone of smart security,” notes a professional smart home consultant—“small, consistent habits extend battery life and keep your doorbell always ‘on watch.’”
The Nest Doorbell Battery installation is not merely a technical upgrade—it’s a decisive step toward smarter, more responsive home security. Easy to deploy, reliable in function, and seamlessly integrated into the Nest ecosystem, this battery solution empowers homeowners to enjoy enhanced monitoring without the hassle. With clear instructions, durable power, and forward-thinking efficiency, transitioning to battery operation becomes a straightforward upgrade that pays dividends in peace of mind.
Whether you’re protecting your doorstep or monitoring deliveries, this optimized battery solution proves that innovation and simplicity can coexist—delivering intelligent security with unprecedented ease of use.
Related Post

Alec Wildenstein, Jr.: The Visionary Architect of Modern Sustainable Design

Deadly Violence Escalates Across Urban Hotspots: Localcrimenews Reports Surge in Armed Robberies and Fatal Shootings

Ali Vitali’s Husband Finally Uncovered: The Unseen Couple Behind Public Interest

Unveiling the Legacy: A Deep Dive Into Her Life and Transformative Contributions


